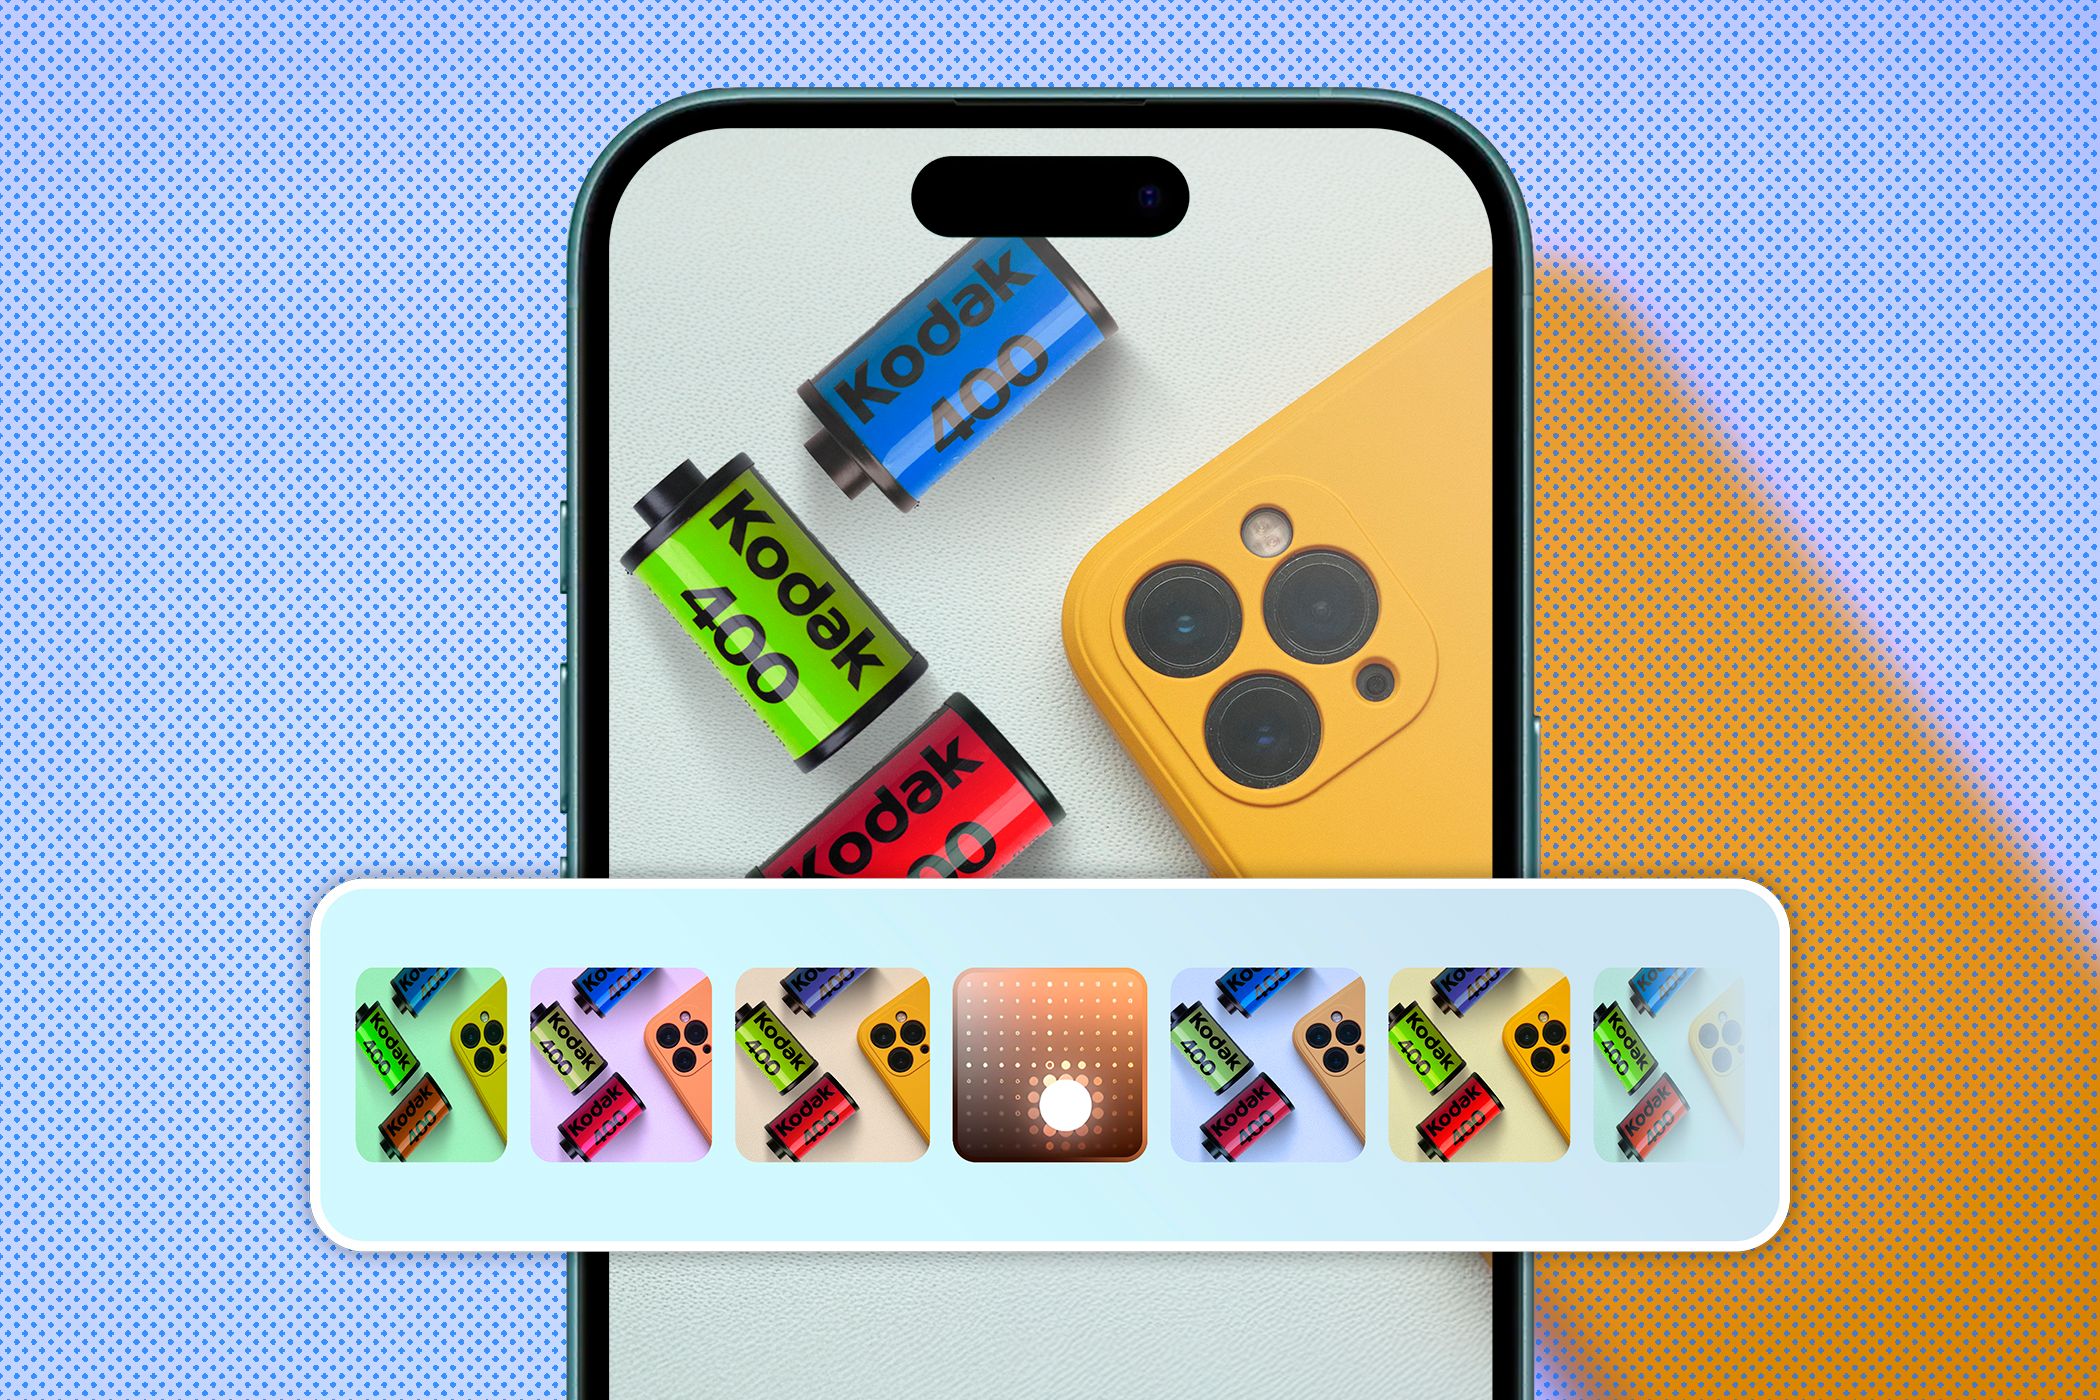
The iPhone 16’s Photographic Styles bring a fresh way to enhance photos. After testing them on everything from portraits to landscapes, I’ve found unique ways to use these features that elevate my shots with minimal effort.
How to Use iPhone Photographic Styles in iPhone 16
You can use the Photographic Styles in the Photos app with your existing photos. Or, you can shoot and preview the styles live in the Camera app.
The default Photographic Style is Standard, where no in-camera edits are applied. To the left of the Standard style, there are five undertone styles: Cool Rose, Neutral, Rose Gold, Gold, and Amber. To the right, you will find the mood styles ranging from Vibrant to Stark B&W.
Tap any style. The control pad is where all the fun is. Move the adjustment up to brighten the image. If you move it down, the image will darken and make it moody. Moving it left gives a more desaturated version of the style’s palette; on the right, you will have a more saturated version.
Then, a slider on the bottom adjusts how much of that palette you will use.
I like that the styles remember your previous adjustments, so you don’t have to reset them each time you use a different photo. This is a convenient feature that saves time and effort.
How iPhone’s Photographic Styles Make My Photos Unique
You can apply photographic styles before or after you take a photograph. You can choose a style based on the mood or skin tone you are going for.
For instance, I go for Vibrant, Luminous, Quiet, and Dramatic to enhance the mood and feel of a scene. For selfies and portraits, Cool Rose, Neutral, Rose Gold, and Amber give me the best results.
Of course, you can swap and experiment with the different styles of every type of photograph.
The choice of a photographic style depends on the subject in the photo and the different elements around the subject. For instance, you might want to subdue the subject while punching up the background.
For Portraits and Selfies
Portraits and selfies can be tricky to get right. iPhone’s intelligent processing system is designed to keep the integrity of the skin tones. Even then, a photographic style can dash against the skin tone and make the photo look unnatural.
Cool Rose, as the name suggests, is a subtle effect. But it boosts the red and the blue colors in any picture. This enhancement can be your go-to pick for pale skin tones.
Amber also warms up a portrait shot. If your original photo is a bit drab (maybe shot on a cloudy day), this style can crank up the lighter red tones. And if you want to punch it up, go for Gold or Rose Gold; both add a little bit of color and tone in those shots that come out too dark or dull.
For Enhancing Natural Scenery
Photographing the real world needs a touch of drama and emotion. Shooting landscapes benefit from depth. I usually prefer shooting directly or editing later in Vibrant or Stark B&W (usually for street photos).
You can start with the Standard or Natural mode to capture the dynamic range available under the day’s light. However, the temptation of adding more drama with the other photographic styles can be too much to pass up.
For Black and White Photography
B/W photography is my favorite. You don’t have to overthink the tonal constraints of the photographic styles. The iPhone offers two black and white styles—Muted B&W and Stark B&W.
Muted B&W is slightly washed out and offers a softer look. While not the same, adjusting the slider can bring you close to the feel of high-key photography with few dark tones. This airy look is sometimes perfect for landscape shots with a distant horizon.
Stark B&W goes in the opposite direction. It can help you create a photo with high-contrast shadows and lighter shadows. This style is the closest you can come to mimicking low-key photography of architecture or even portraits.
For That Vintage Look
The vintage look perfectly suits anything you want to take back in time—an old car, a house, or a museum exhibit. Use Quiet and Ethereal for a smidgen of retro.
For instance, Quiet adds a sepia hue by muting the reds and lightening all shadows uniformly.
iPhone 16’s Photographic Styles work on Live Photos, too. However, they won’t work with other iPhone camera modes, such as Pano, Cinematic, and videos, and they do not work in Burst Mode.
My Personal Workflow and Creative Process
Changing the color and tone of the pictures with the styles doesn’t need an expert eye, just a willingness to experiment. iPhone 16’s Photographic Styles are highly flexible. You can choose one in post-processing or shoot on the fly with them.
Using a specific style set as the default changes how I approach a shot. It’s like selecting a specific film for the photographic ideas in my head. For instance, I usually set up Stark B&W for street photography.
Photographic Styles are so much fun because you can change them anytime. So, I usually create 3-4 differently styled versions of a keepsake photo. After a few days, one from the group usually looks more attractive than the rest.
To save different versions of a photo, edit it in the Photos app, then tap the three-dots (…) and select Save as Duplicate.
Also, you can set a specific Photographic Style as the default in iPhone 16. When shooting several photos with a particular style, you can bypass the default Standard style the iPhone camera opens with.
How to Set Up a Default Undertone on an iPhone 16
Snap four pics with your iPhone camera to choose a default Photographic Style. These give the image processor some information on the skin undertones.
- Go to Settings > Camera > Photographic Styles.
- Select Get Started, and then follow the onscreen instructions.
- Choose four photos to give iOS an idea of the skin tones you commonly capture.
- Use the slider to set the strength of the undertone style.
- In the next step, use the Control Pad to finetune both the tone and the saturation of the colors.
- Tap on Save Tone & Color to finalize the default. Select Done to return to the Settings.
To remove the default style, go to Settings > Camera > Photographic Styles > Reset to Standard.
The Photographic Styles are powered by the new A18 and A18 Pro chips and Apple’s sophisticated image analysis engine in the iPhone 16 series. They can even give drab photos a second life. With minute customizations, you can represent the world as you see with your photos. You just have to point and shoot.


